This is my version of Block 23 ~ Unit 6 for Just Takes 2:
 |
| JT2 ~ Block 23 ~ Grandma's Favorite Compass |
From the hand piecing templates only use A, D and F. Using freezer paper trace six of A, six of D and one of F. Press the freezer paper to your color fabric. The pieces are small enough I used some of my red scraps :0)

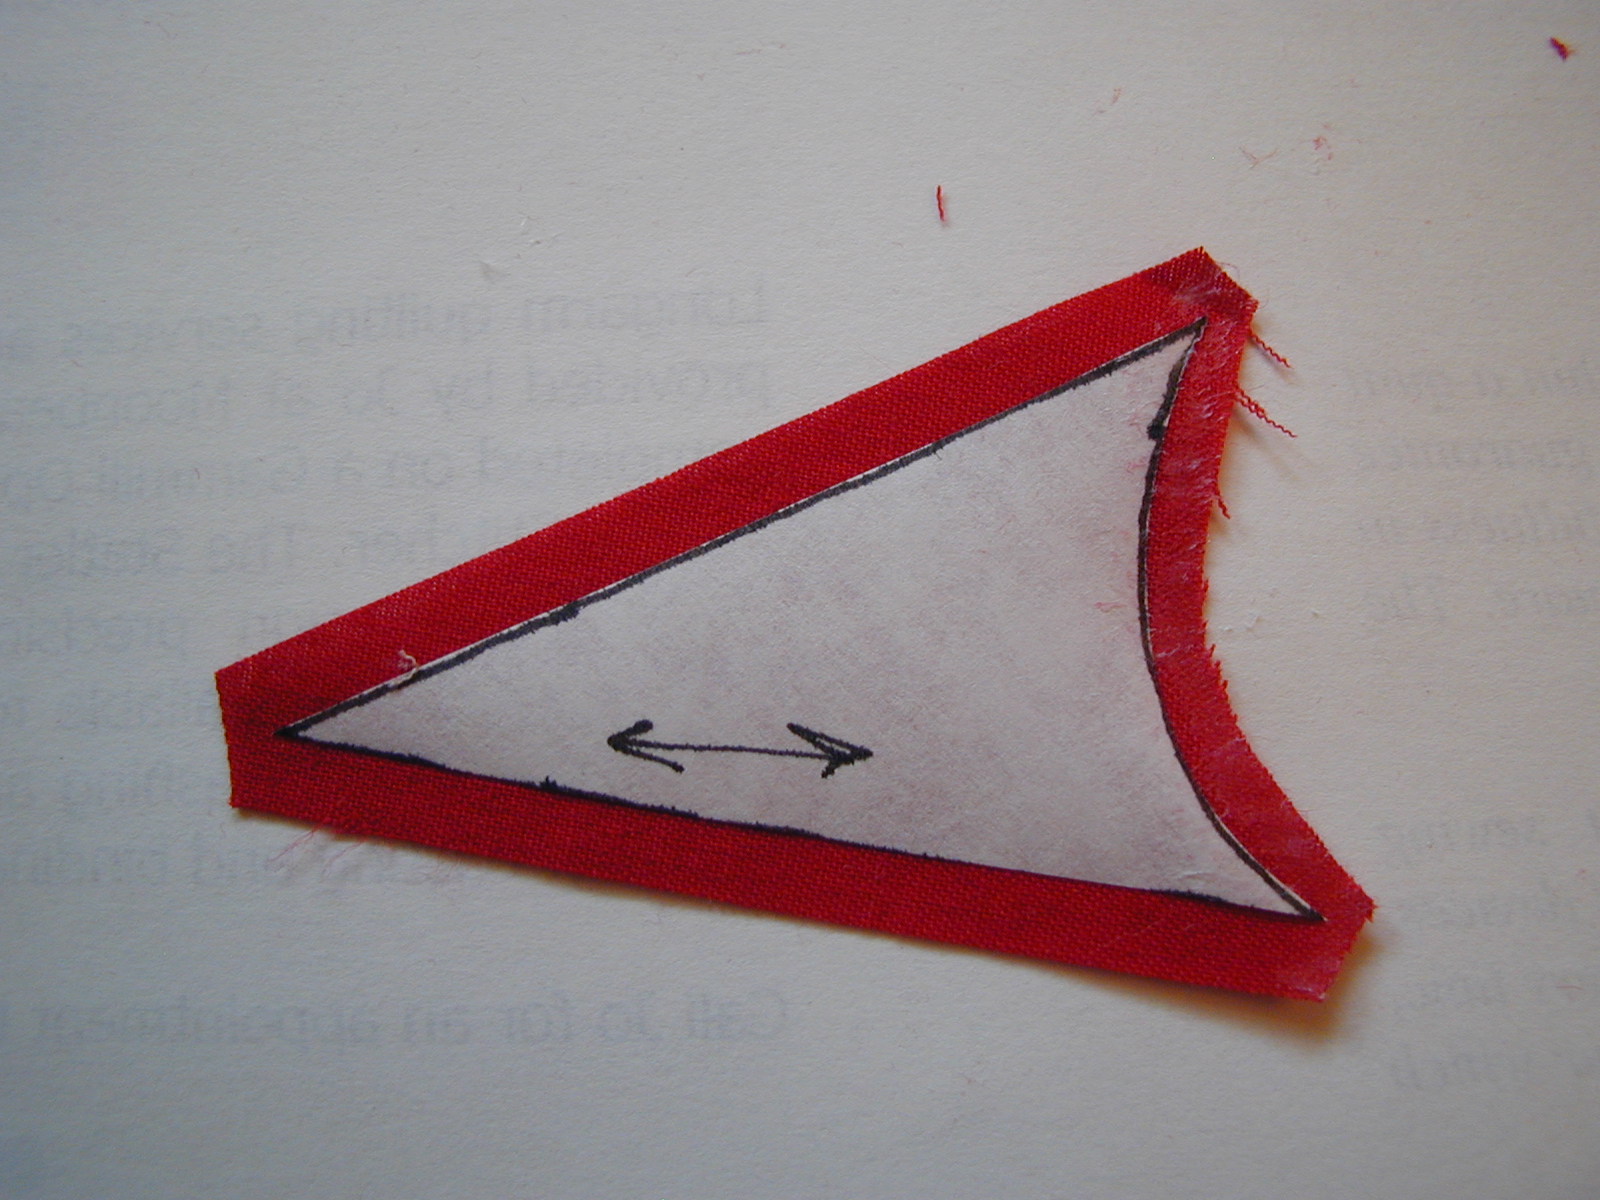
Using a rotary cutter and ruler, cut a scant 1/4 inch seam allowance

With scissors or a small rotary cutter cut the curves

Cut the tip of the points leaving a small 1/8" amount to turn

Using a glue stick, put glue on the curved edge and the point
Using a wood cuticle stick, pull the fabric over the edge of the freezer paper, smoothing it out as you go. Fold the tip down without folding the paper

Using small scissors (not your good embroidery scissors because of the glue) trim away some of the seam allowance. Add glue to one side
 and pull the fabric over the edge of the freezer paper with the cuticle stick. Smooth the fabric and get the points flat. Trim more seam allowance if necessary. Repeat with the other side.
Note: Use a fresh glue stick. What makes this easy is the glue is "gooey" which makes the fabric easy to manipulate. If the glue stick is too dry, it doesn't stick or is too stringy.


Glue the seam allowances of all 13 pieces including F. Once the glue has dried, use a seam ripper to make a small hole in the paper. With scissors, start at the hole and cut away the center of the paper, leaving a small edge of paper under the seam allowance. Be careful not to cut through to the fabric.

 Prepare a 13+ inch square of your background fabric with a stabiliser. I used a iron on/tear away by Sulky. A wash away would be even better! Lay pieces on the right side of the background fabric
 Glue down the pieces with a water soluble glue like Roxanne's basting glue
 Once the glue has dried, press if necessary. Now you are ready to sew the pieces using your favorite appliqué machine stitch. *(You could hand appliqué at this point, that's how I made the 4 hearts block.)*
 I used a button hole stitch and started with the small points (A), going all the way around each, one at a time. Next start at one corner of the large points (D) sew all the long edges going from one point to the next. Once all the points are done, continue into the middle and stitch the curved edges without taking it out of the machine.

Note: Use a fresh glue stick. What makes this easy is the glue is "gooey" which makes the fabric easy to manipulate. If the glue stick is too dry, it doesn't stick or is too stringy.


Glue the seam allowances of all 13 pieces including F. Once the glue has dried, use a seam ripper to make a small hole in the paper. With scissors, start at the hole and cut away the center of the paper, leaving a small edge of paper under the seam allowance. Be careful not to cut through to the fabric.


Turn it over, tear away the stabilizer and Ta Da! Done!

Note: if you don't want to leave in any of the freezer paper, use a temporary water soluble glue stick, don't cut the center of the paper away before stitching. After stitching and removing stabilizer, cut into the back of the backing fabric behind the pieces and remove the paper. This method of machine appliqué is from Beth Ferrier of Applewood Farm. She uses mono filament with a different stitch.
It's been a great week. We got rain. I quilted my UFO for March. Just have binding and a label left to do. Have a quilty weekend!

What a FABULOUS tutorial Jo!
ReplyDeleteThank you so much for sharing your technique with us! You've really simplified this block!
Nice job and great tutorial!
ReplyDeleteI love this block! Looks great!
ReplyDeleteThanks for a wonderful tutorial ! I really liked your easy technique ! Thanks for sharing with all of us !
ReplyDeleteGorgeous star!
ReplyDeleteawesome, I love this block , great tutorial I may just have to make one !
ReplyDeleteKathie
thanks for your method - I'm doing it your way but not turning under the edges instead I used fusible before I will machine appliquing....
ReplyDeleteBetty